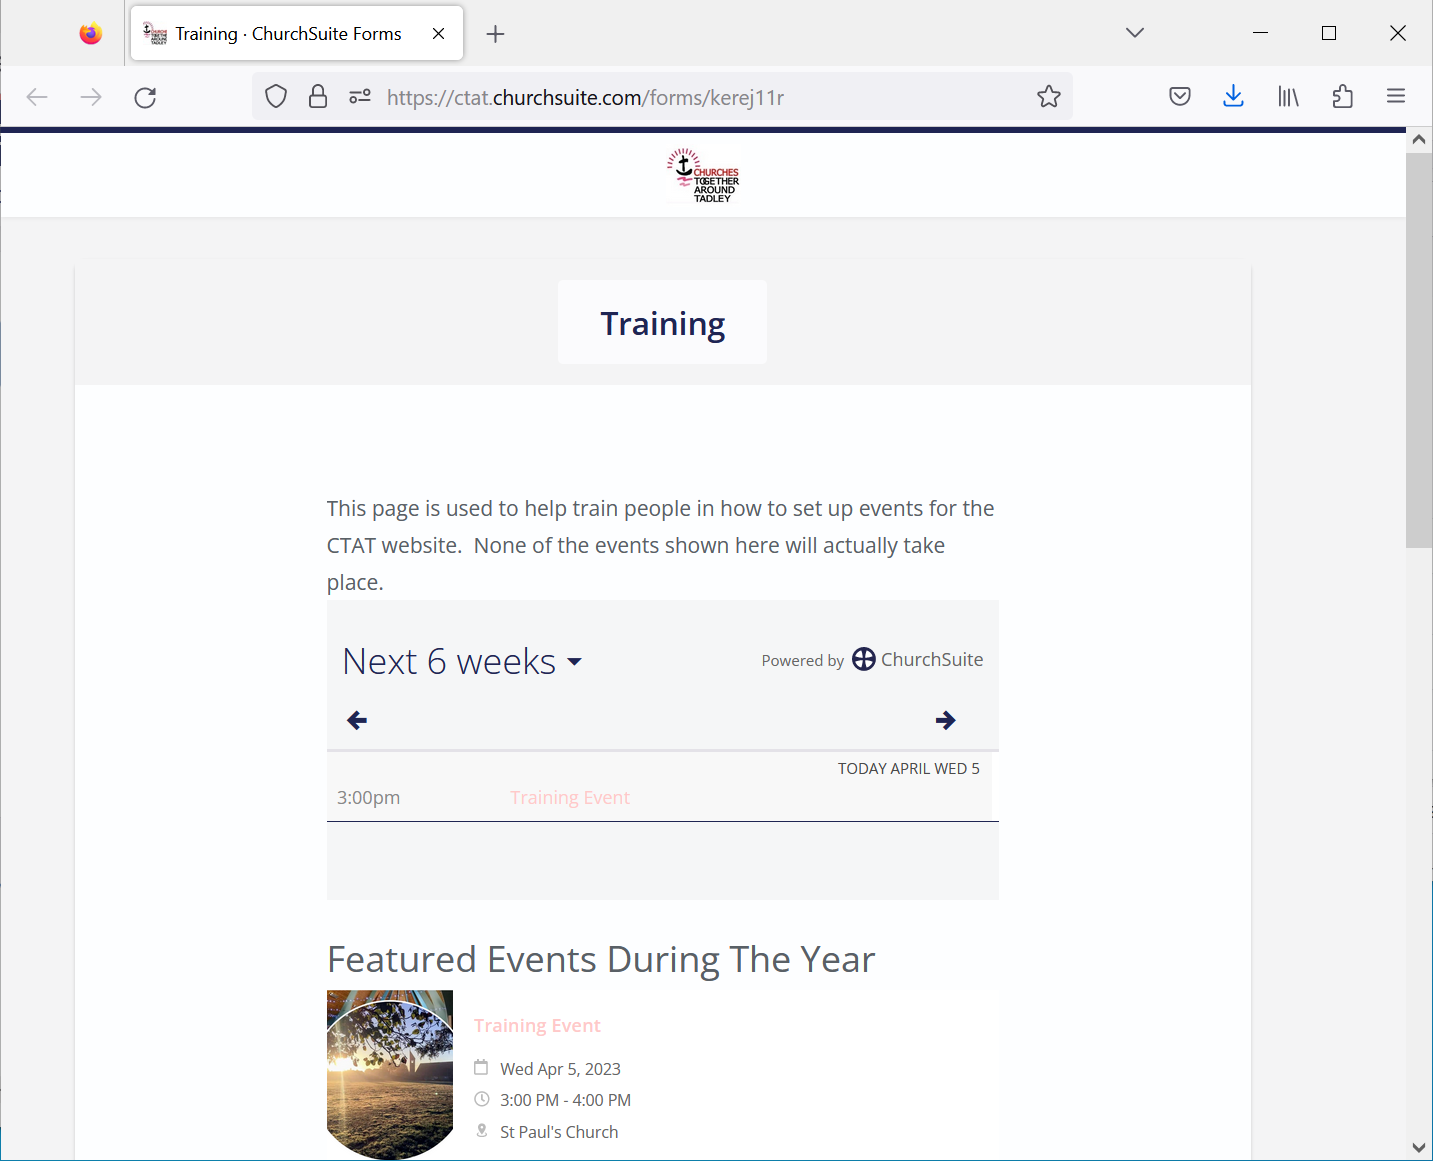
This section shows the steps needed to create an Event in the way that fits in best with the CTAT website. The process shown will create a training event, but creating a live event is exactly the same apart from the Category that is chosen.
- Display the Event List window (Use the Navigate to Event List process to get to this window)
Create a new Event by clicking on Add event: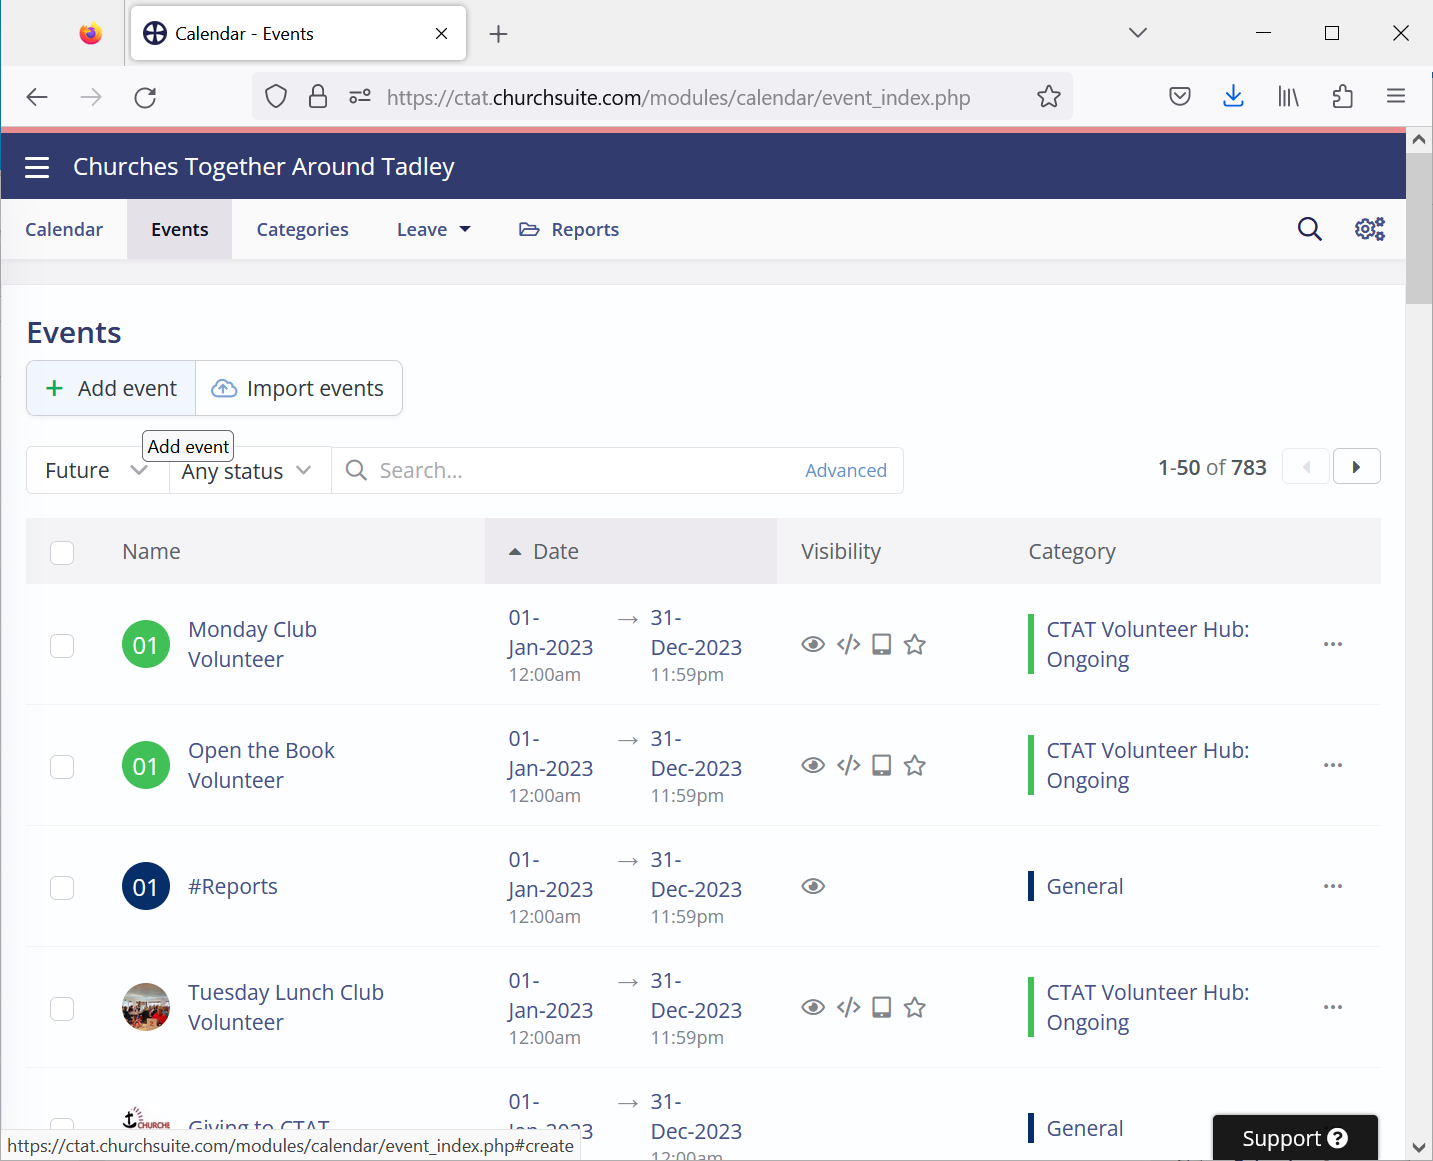
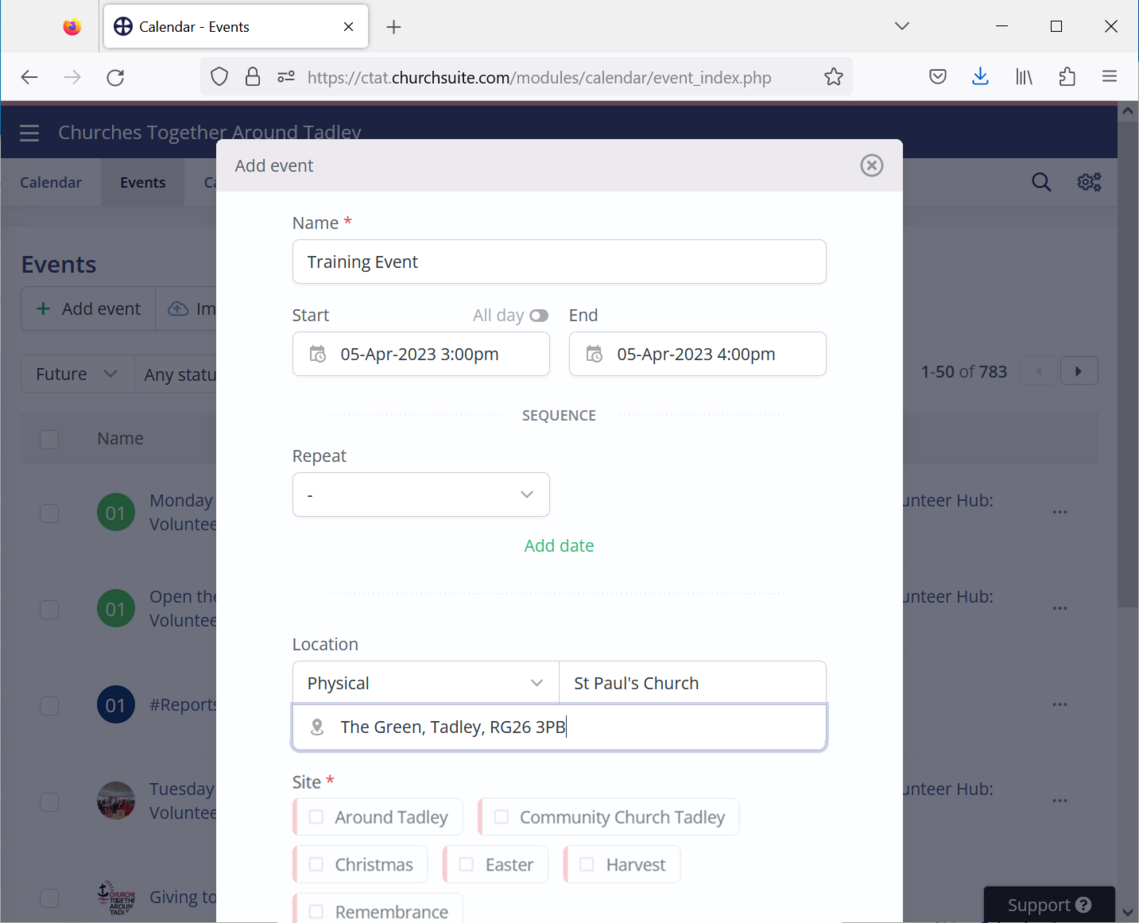
- Enter the Event Name
In this case it will be called Training Event:
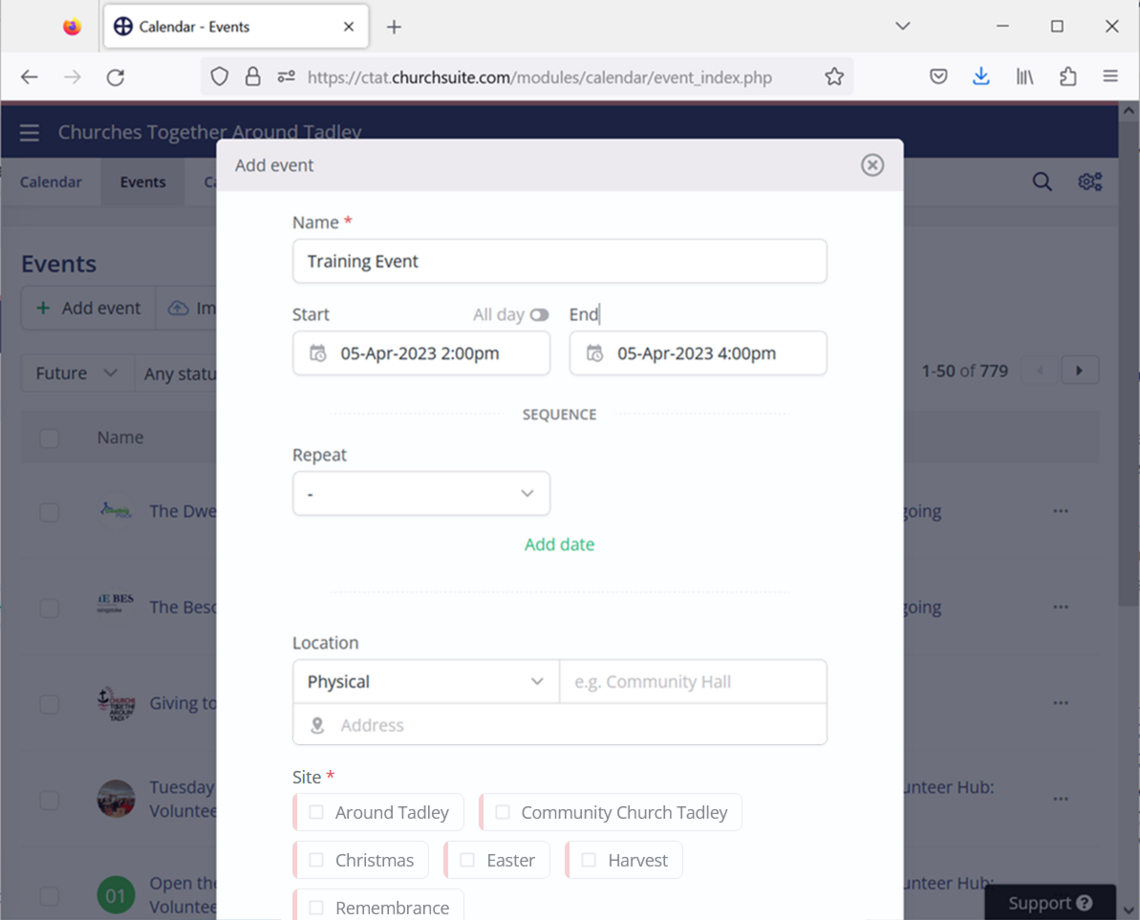
- Set the Event Date
For live Events, more details are given at Set Event Date. This is a training Event, so set the time to be an hour later than the current time:
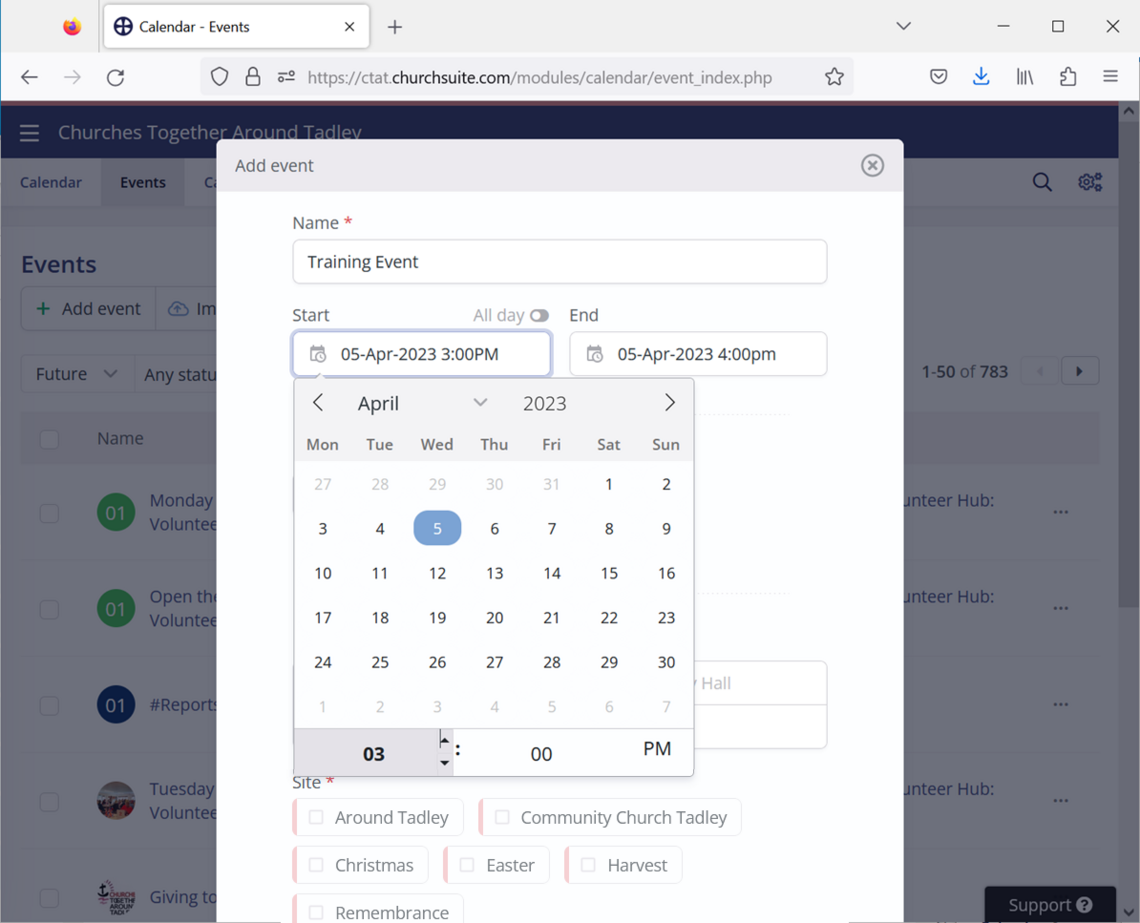
- Set the Event Location
For more details see Set Event Location:
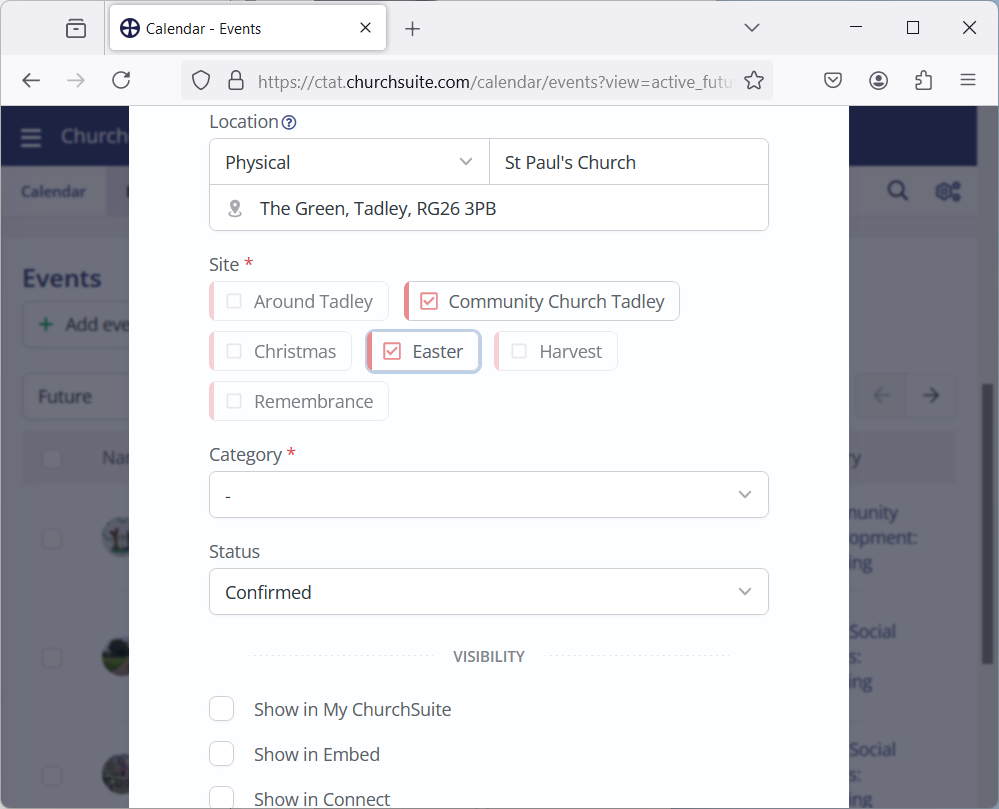
- Set the Event Site
For more details see Set Event Site. Select your church if the Event takes place there, otherwise select Around Tadley. If the Event is part of the Christmas, etc collections than also select the appropriate collection:
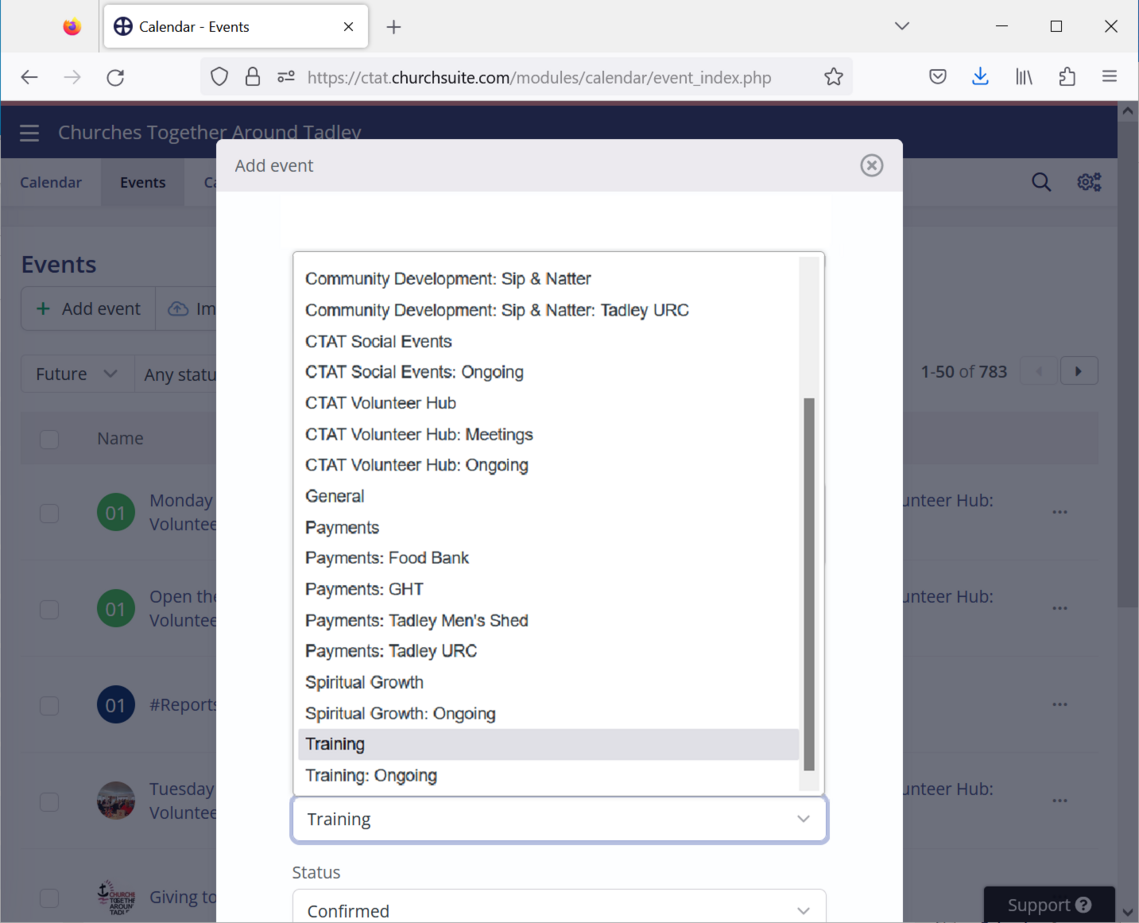
- Set the Event Category
For more details see Set Event Category. This is a training Event so the Category Training will be used:
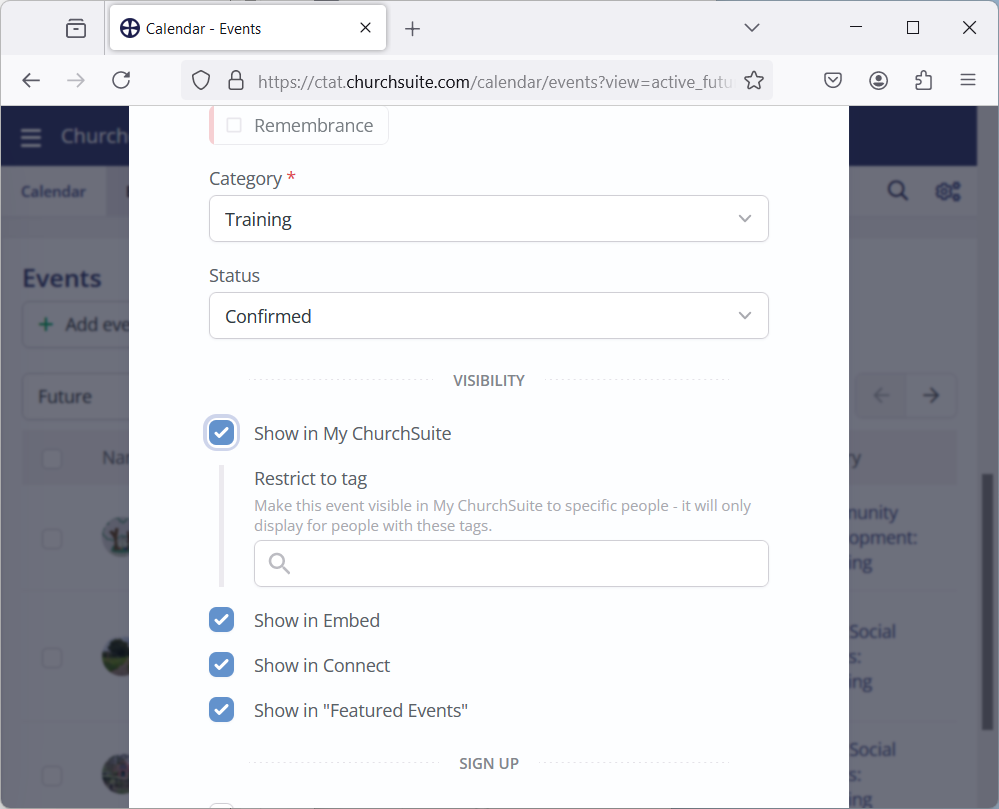
- Set the Event Visibility
More details are given at Set Event Visibility. This is an Event with a fixed date, so all visibility options are selected. Save the Event by clicking on Save:
- Set the Event Overseer
Click on Add overseer:
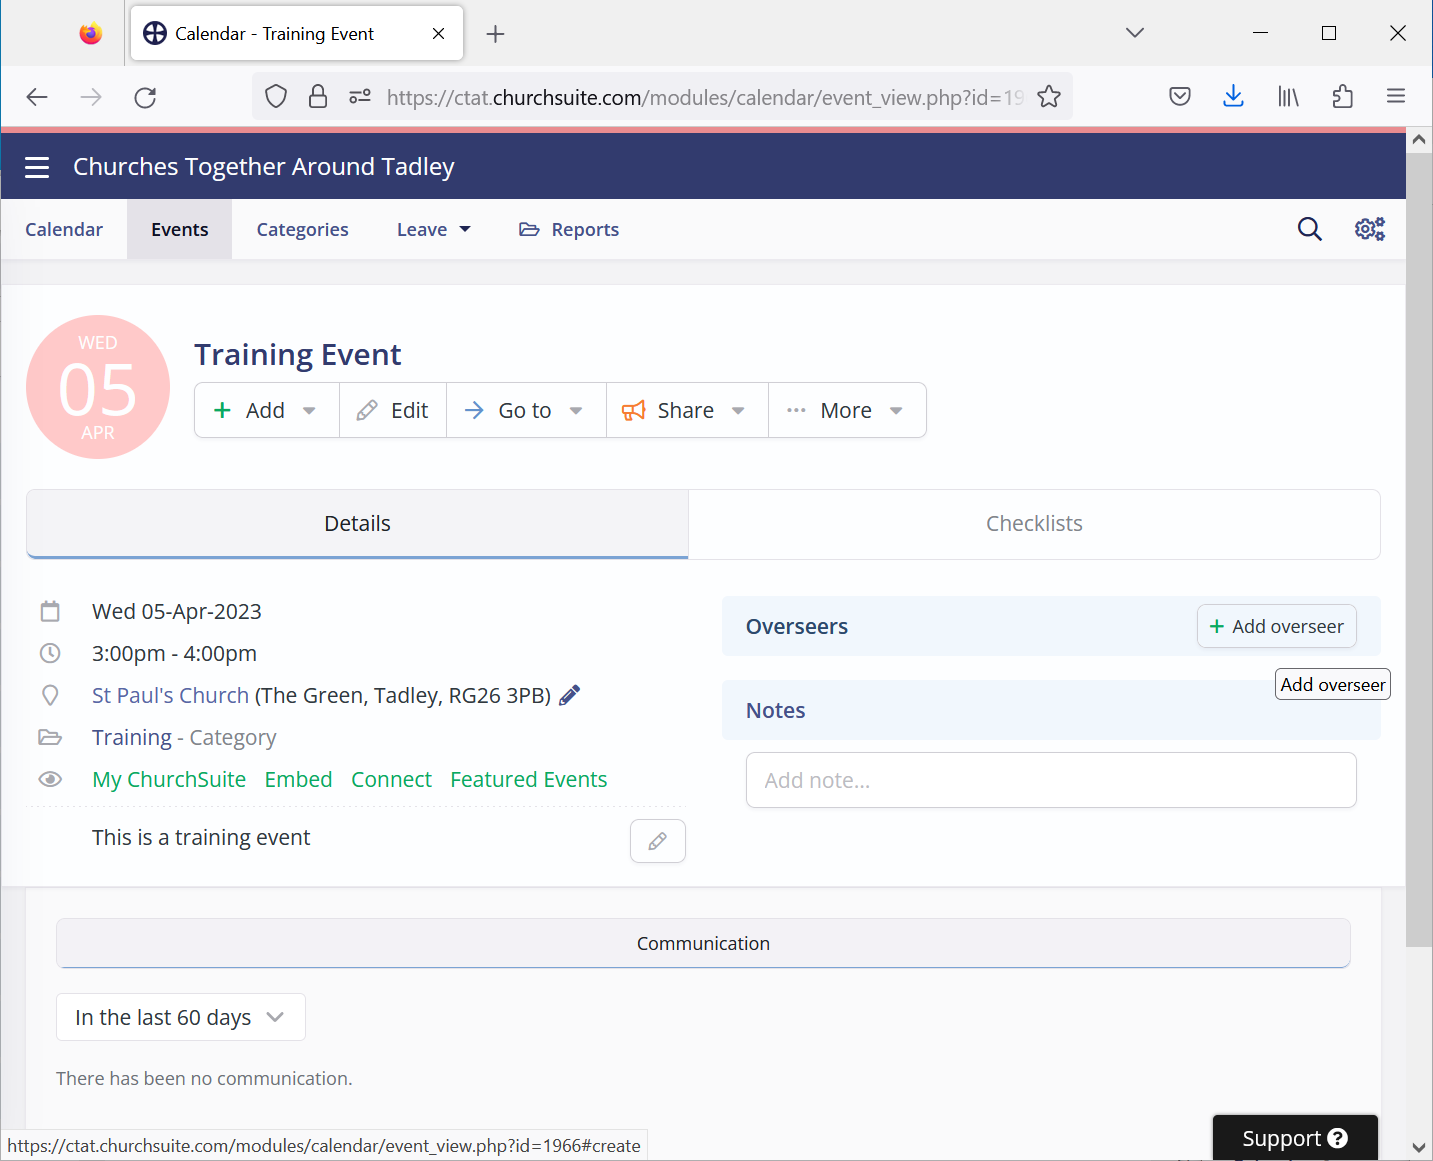
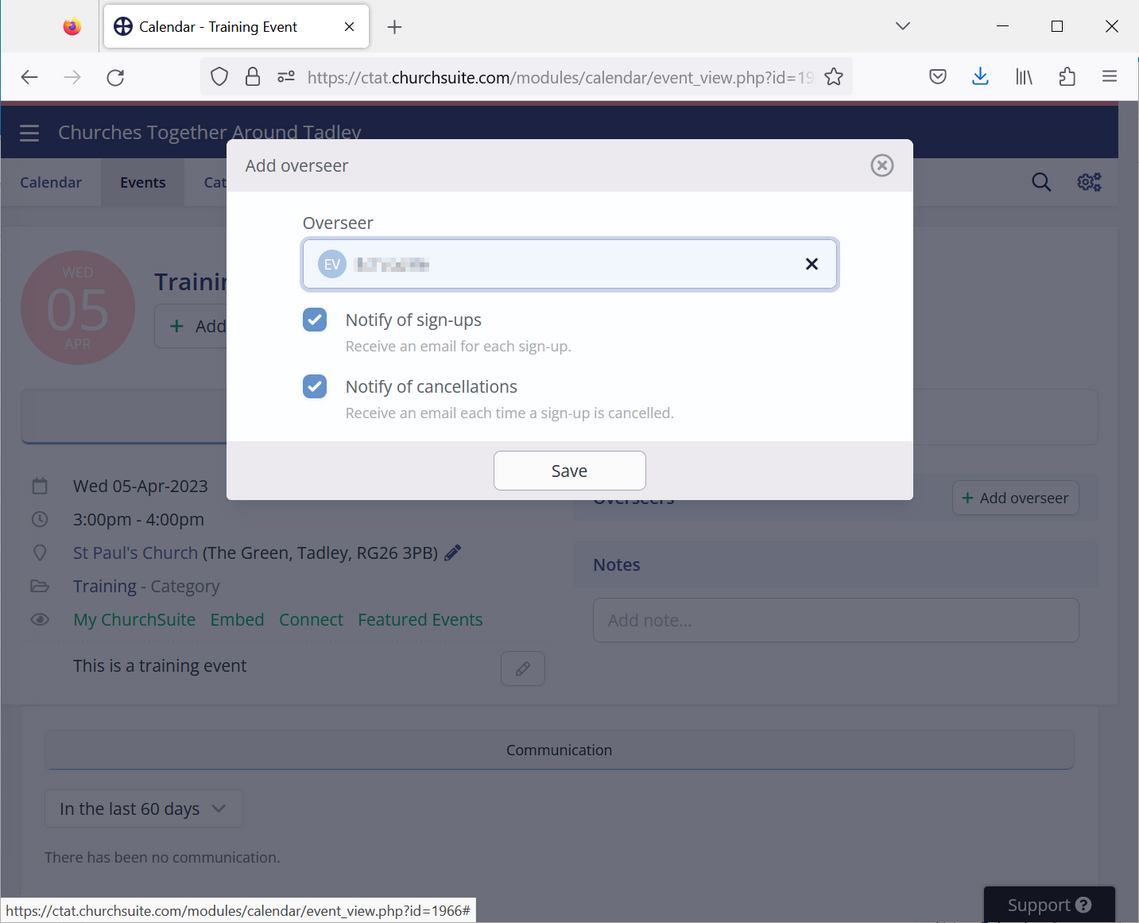
- Set the Event Overseer Name
For more details see Set Event Overseeer. For a live event, set the Overseer to be the person who is responsible for the Event. This is a training event so set the Overseer to yourself, then click Save:
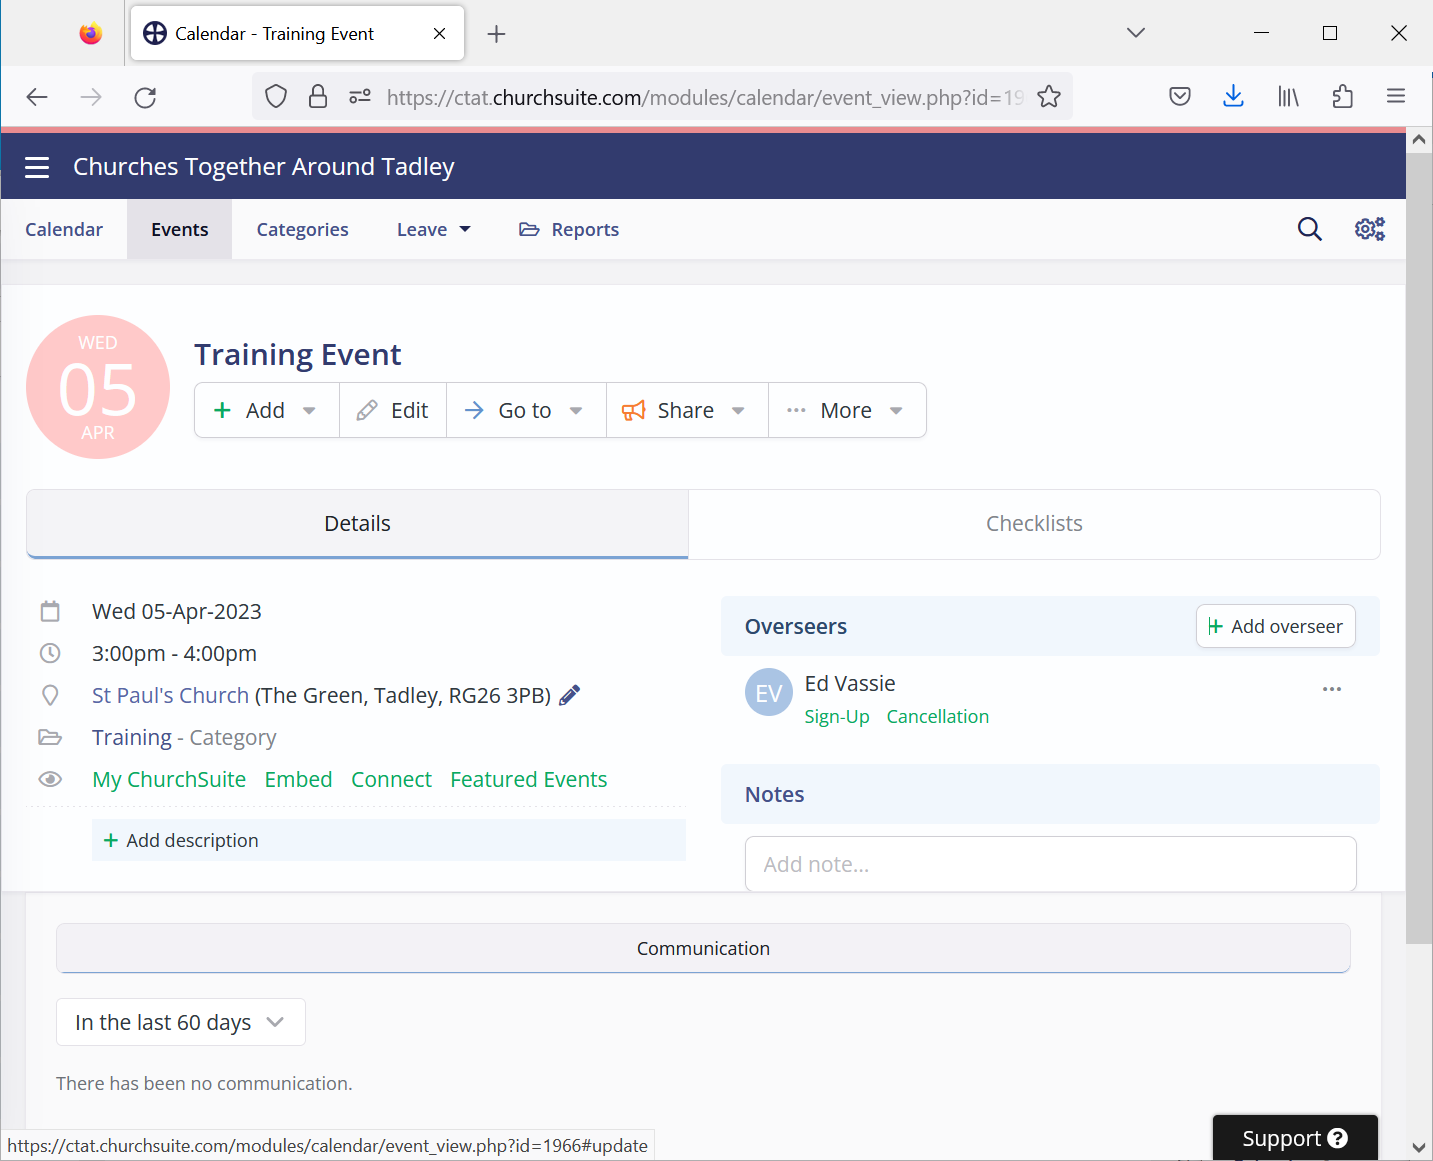
- Set the Event Description
Click on Add description:
- Set the Event Description text
For more details see Set Event Description, then click on Save: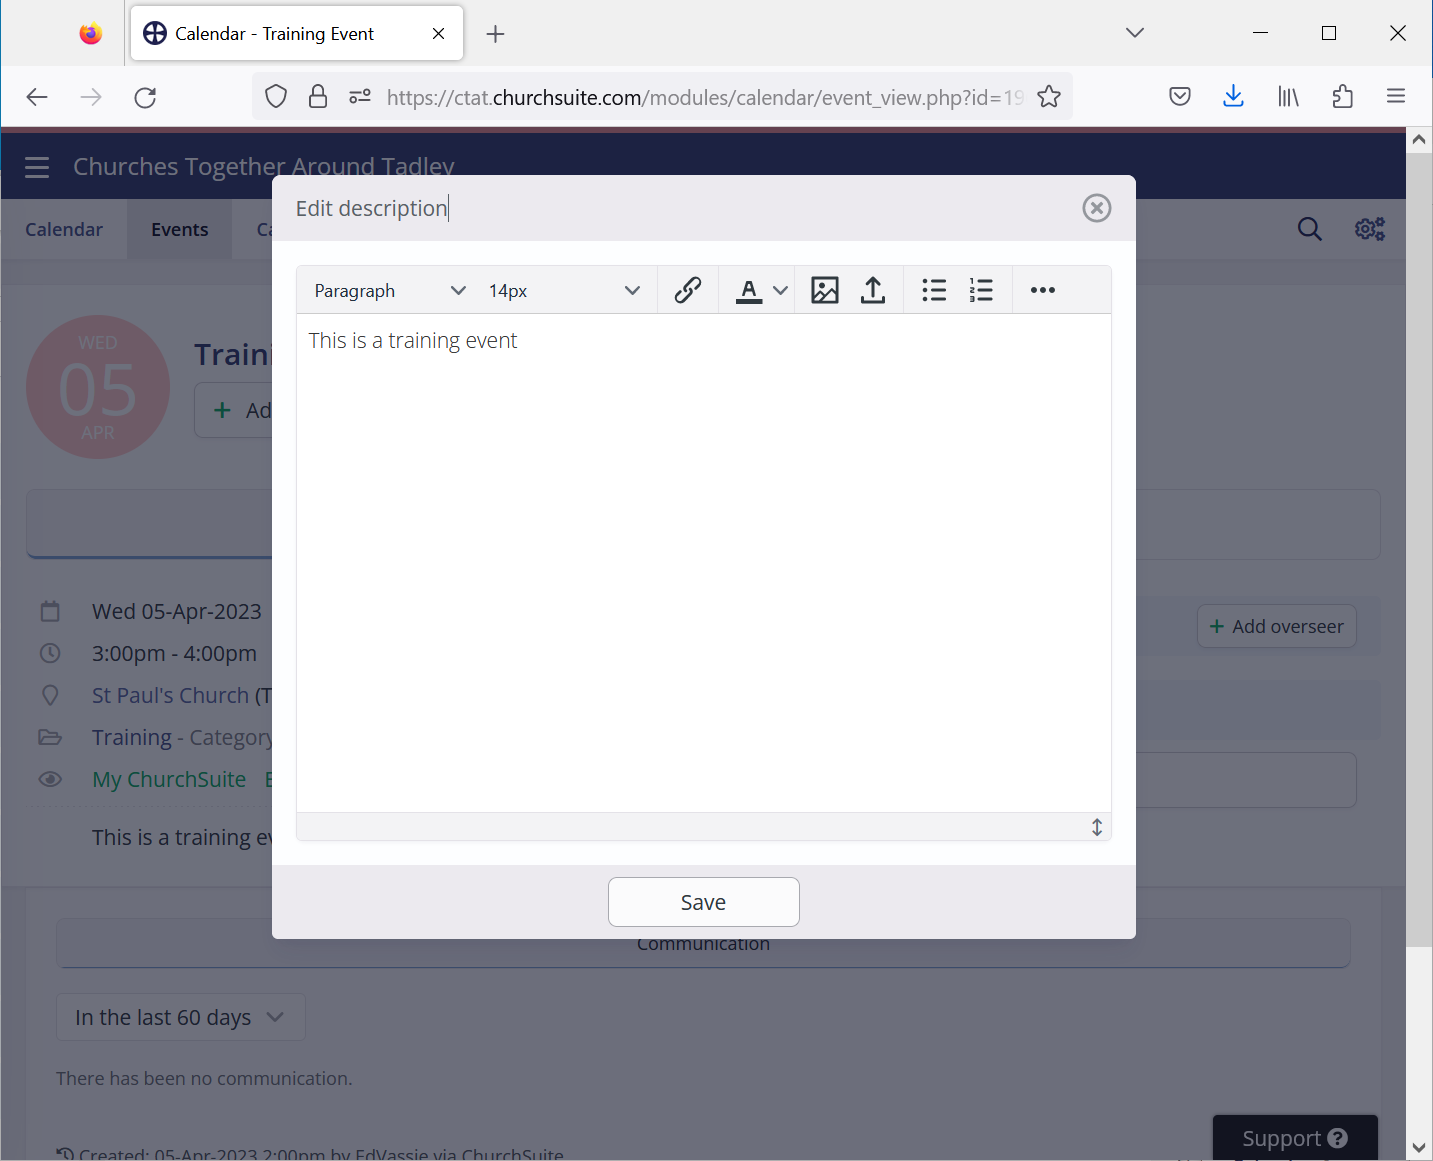
- Set the Event Picture
Click on the picture roundel and select Edit. For more details see Set Event Picture: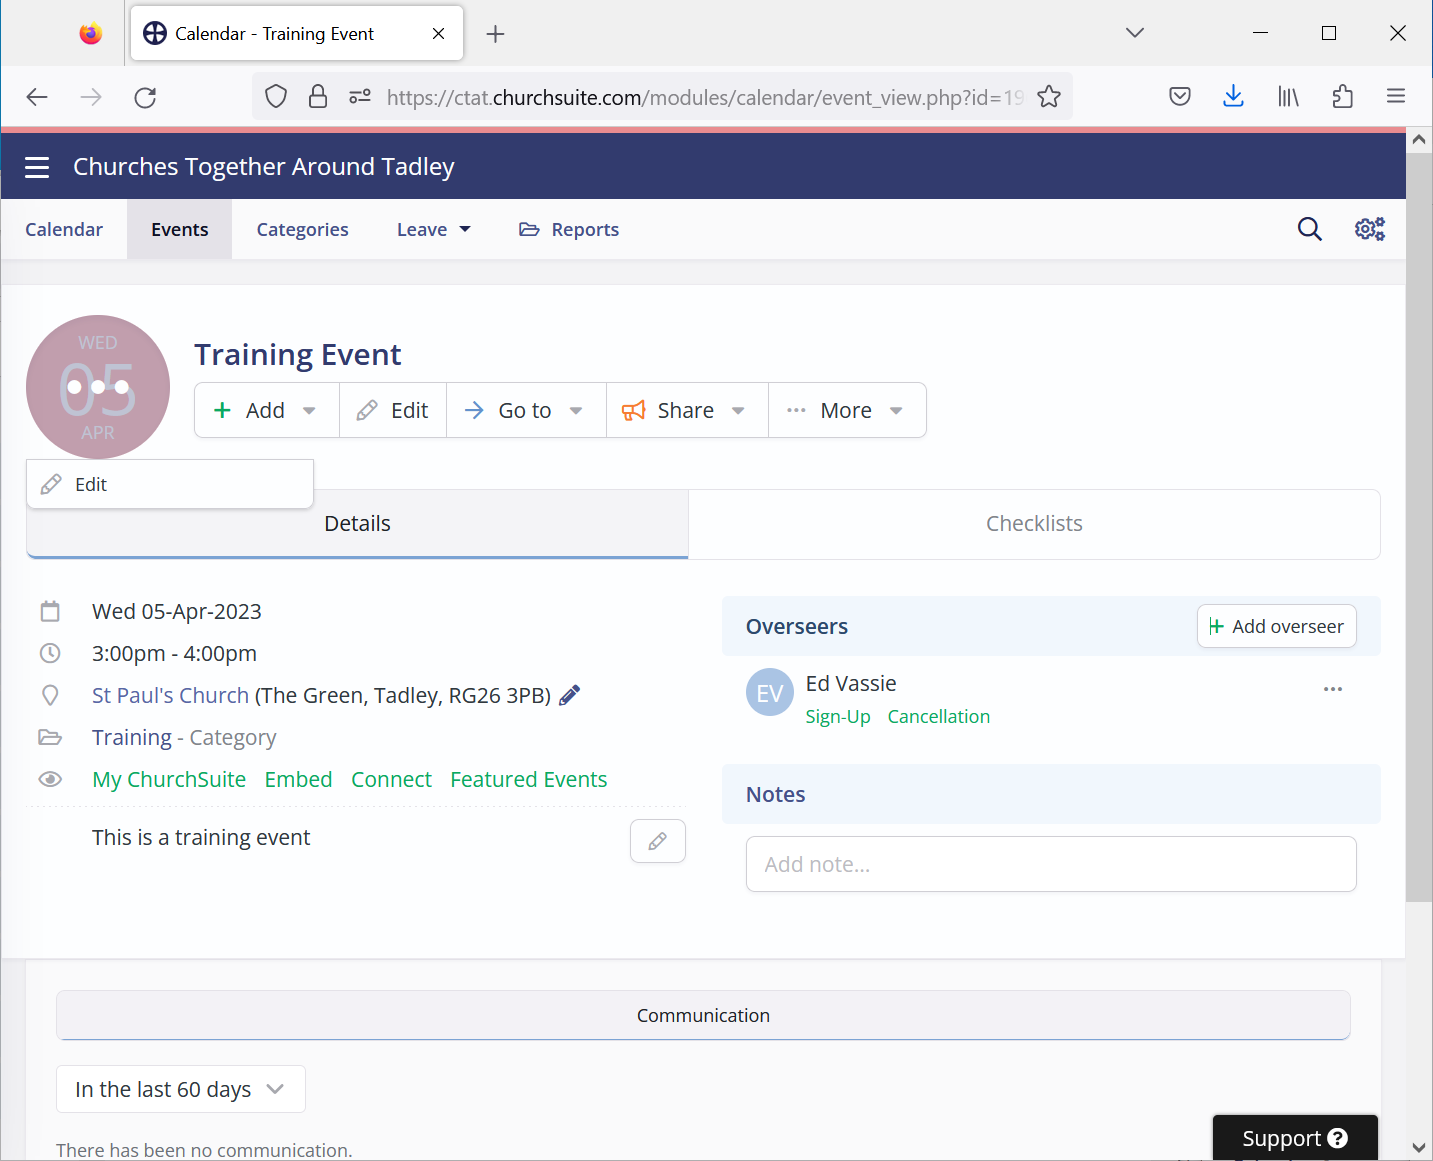
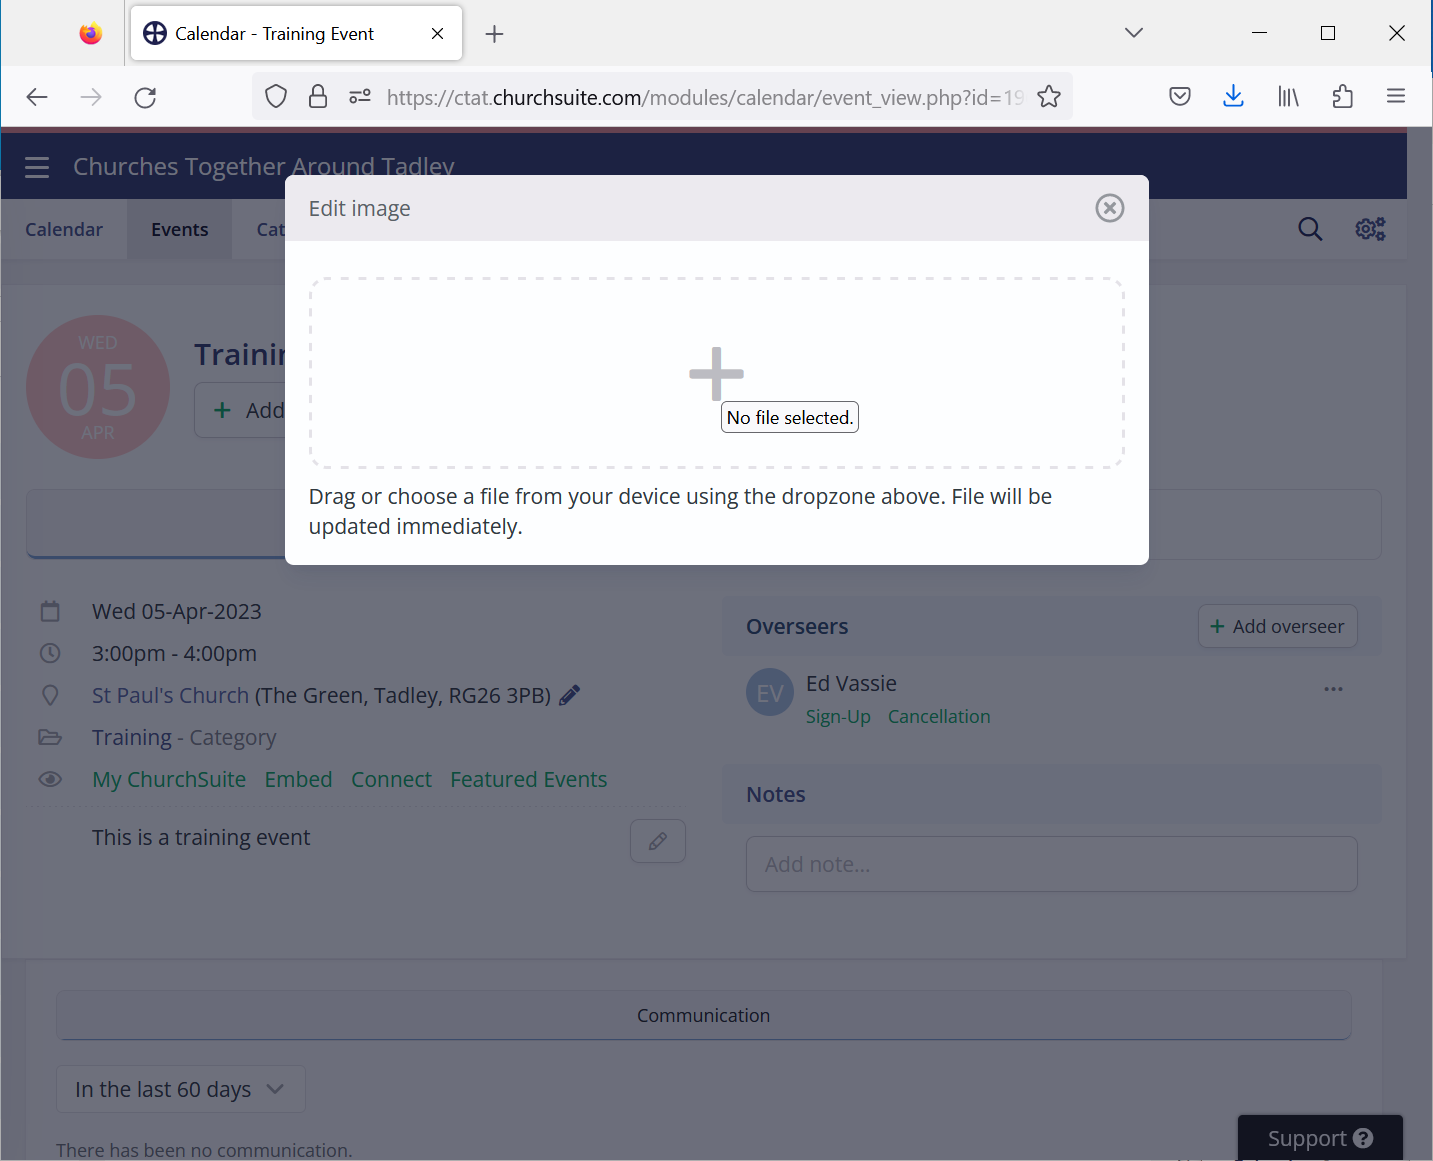
- Click on the large + to navigate to the picture location:
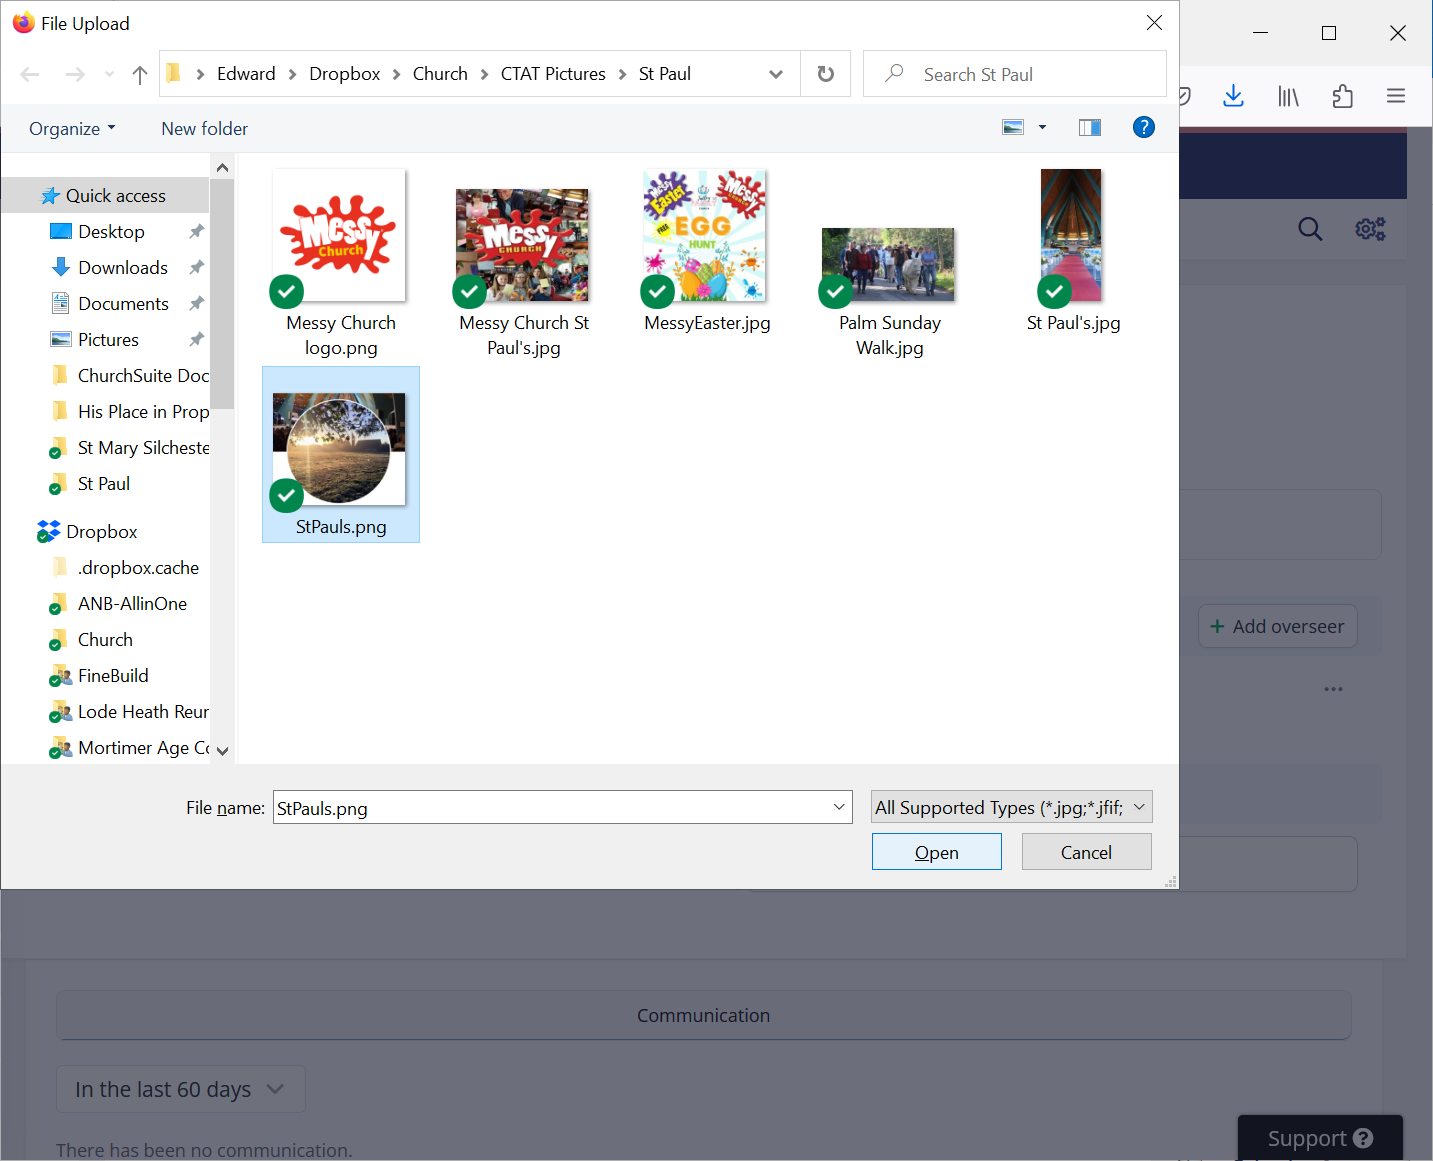
- Choose the required picture and click Open:
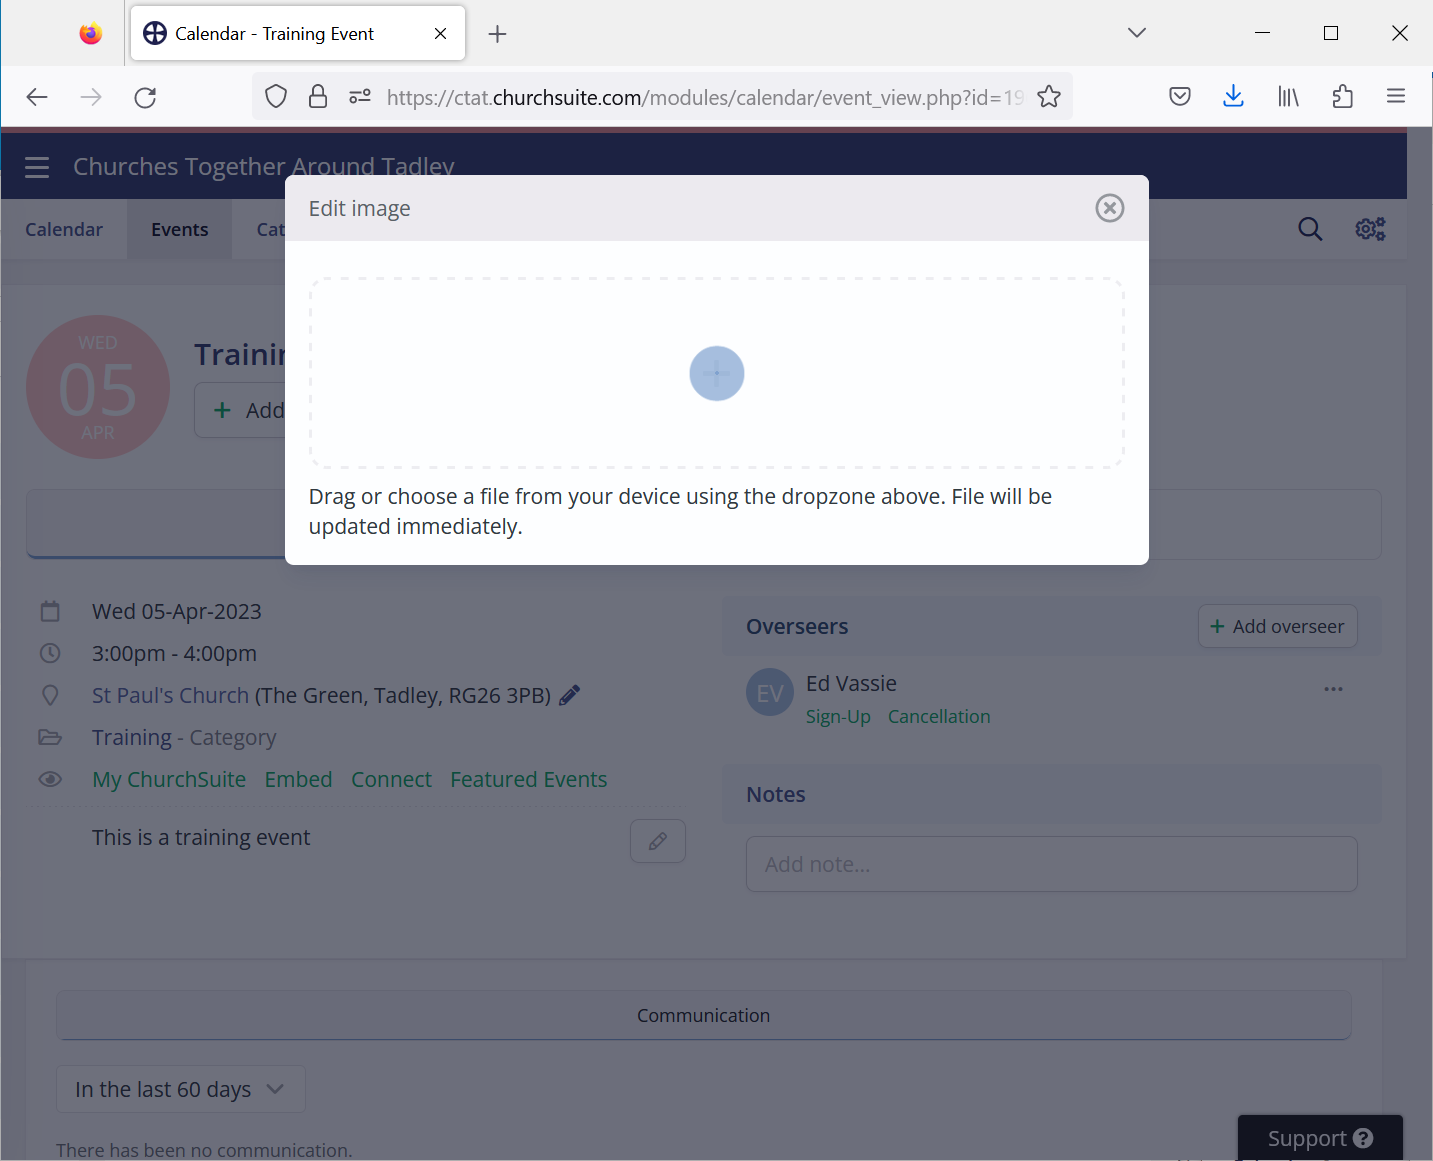
- Wait while the picture uploads:
- Fix Map Location
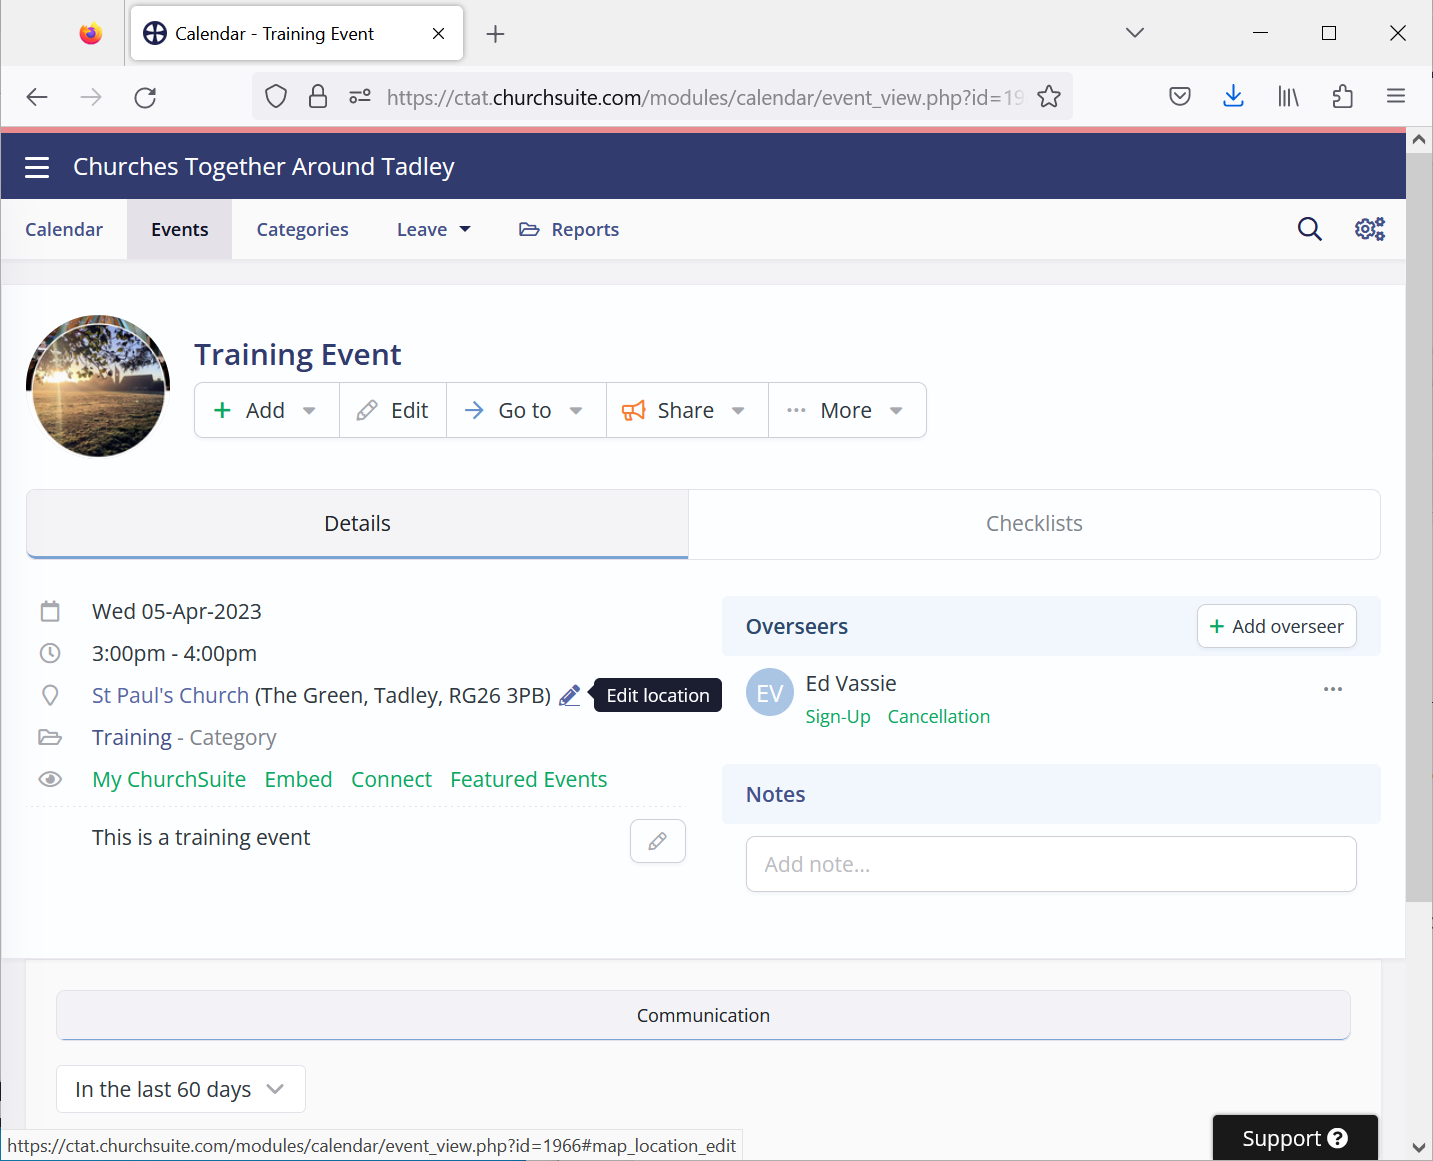
The map location for the event often needs to be fixed. For more details see Fix Map Location. Click on the pencil symbol beside the location:
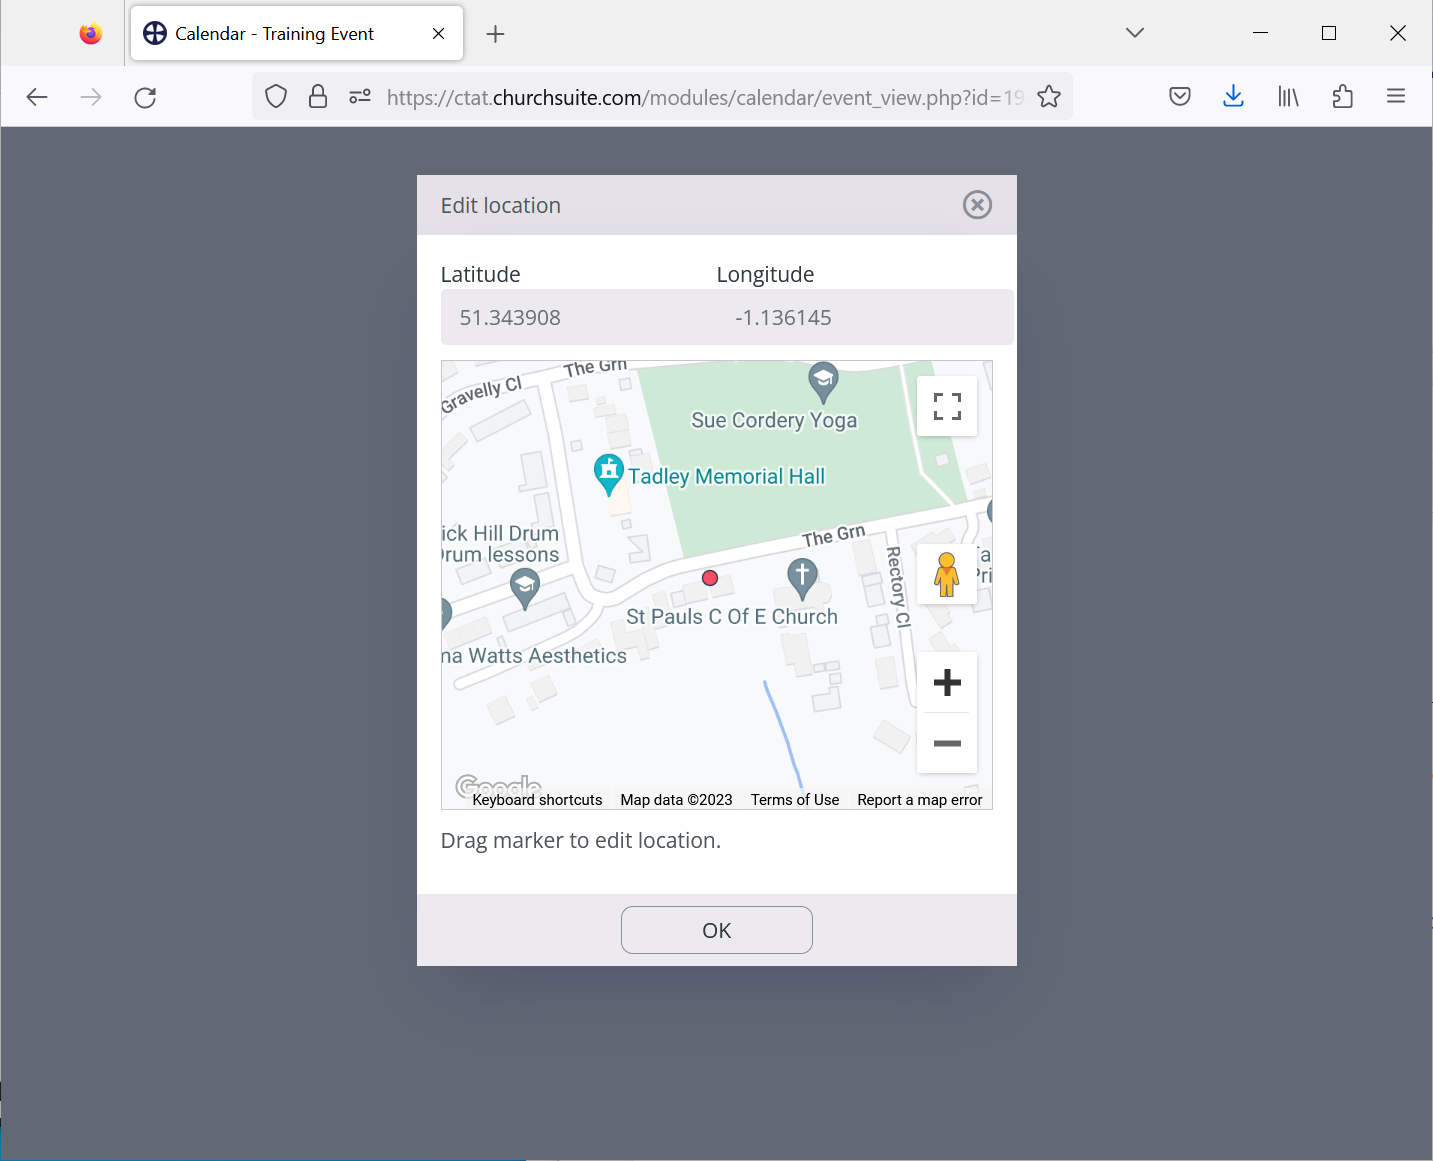
- Click on the large + sign to zoom in so the default location and the desired location can be seen:
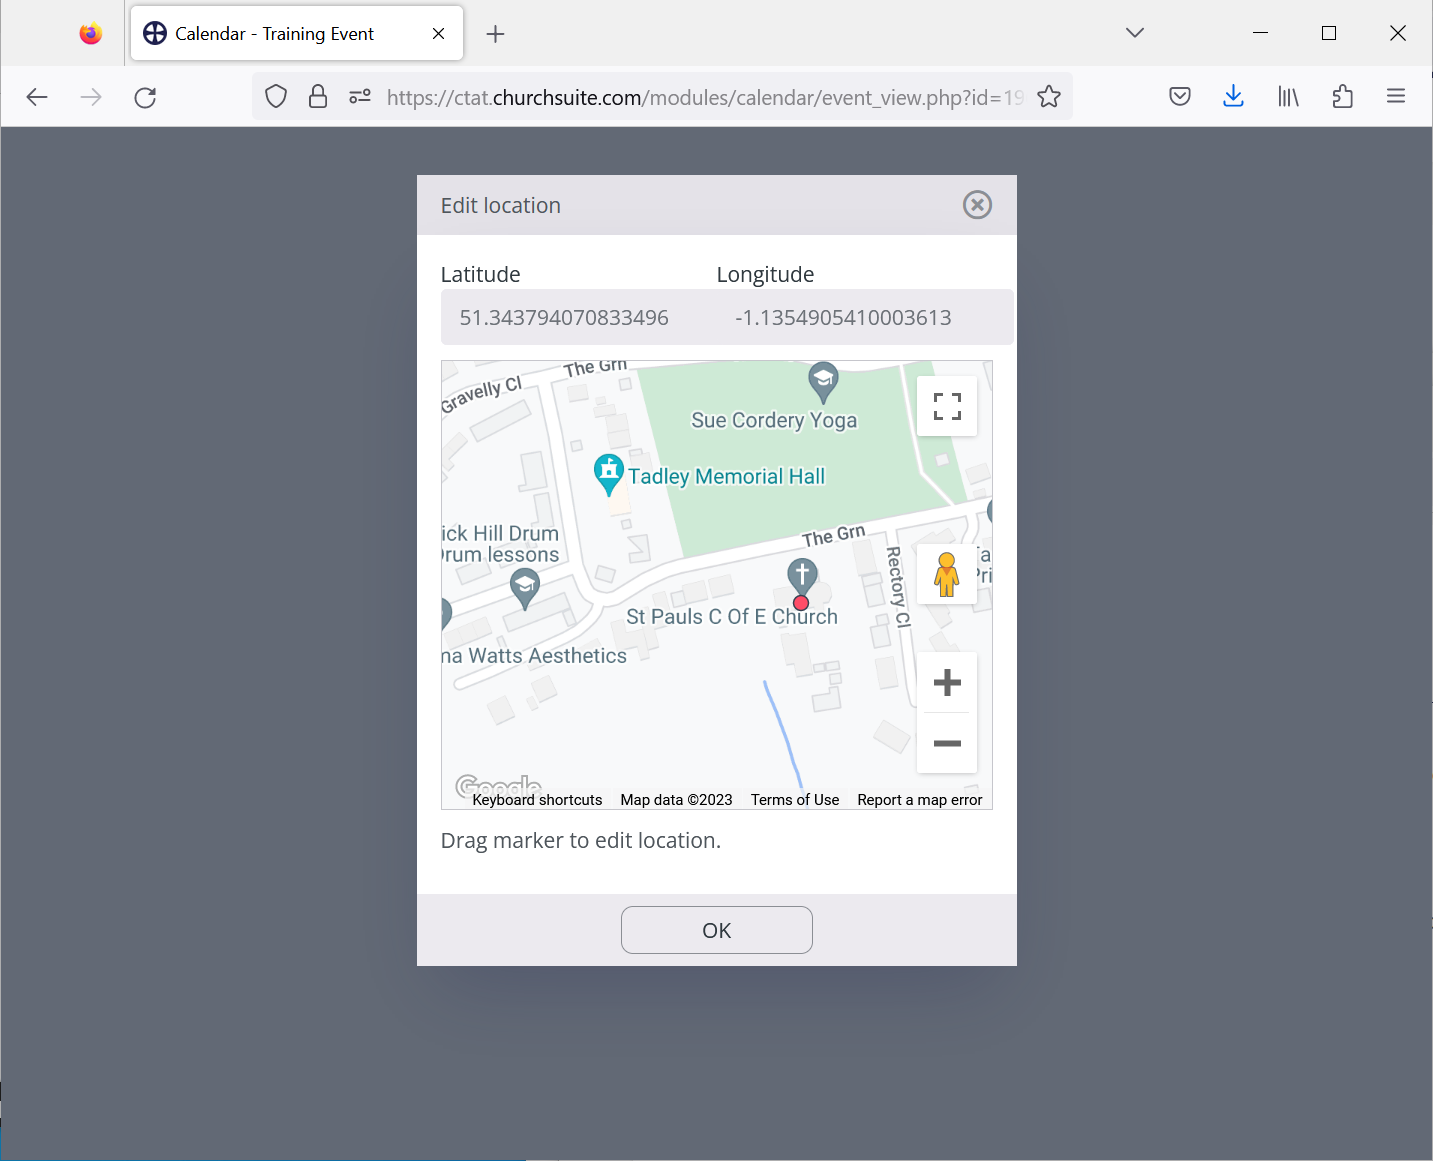
- Drag the red dot showing the map location so it lies on top of the desired location, then click OK:
- Vie the finished event using one of the methods shown in View Event:
